Whisk Up Homemade Delights: Learn How to Make Ice Cream in a Bag with this Easy Recipe!

Ice cream is a beloved treat enjoyed by people of all ages. While store-bought ice cream is readily available, there's something special about making your own homemade version. Not only does it allow you to customize the flavors and ingredients, but it also provides a fun and interactive activity for the whole family. In this article, we will guide you through the process of making delicious ice cream in a bag using simple ingredients that you probably already have in your kitchen. So get ready to whisk up some homemade delights and indulge in the creamy goodness of your very own creation!
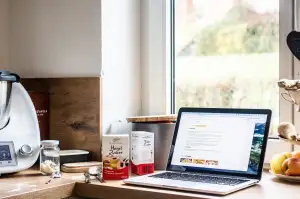
Gather the ingredients
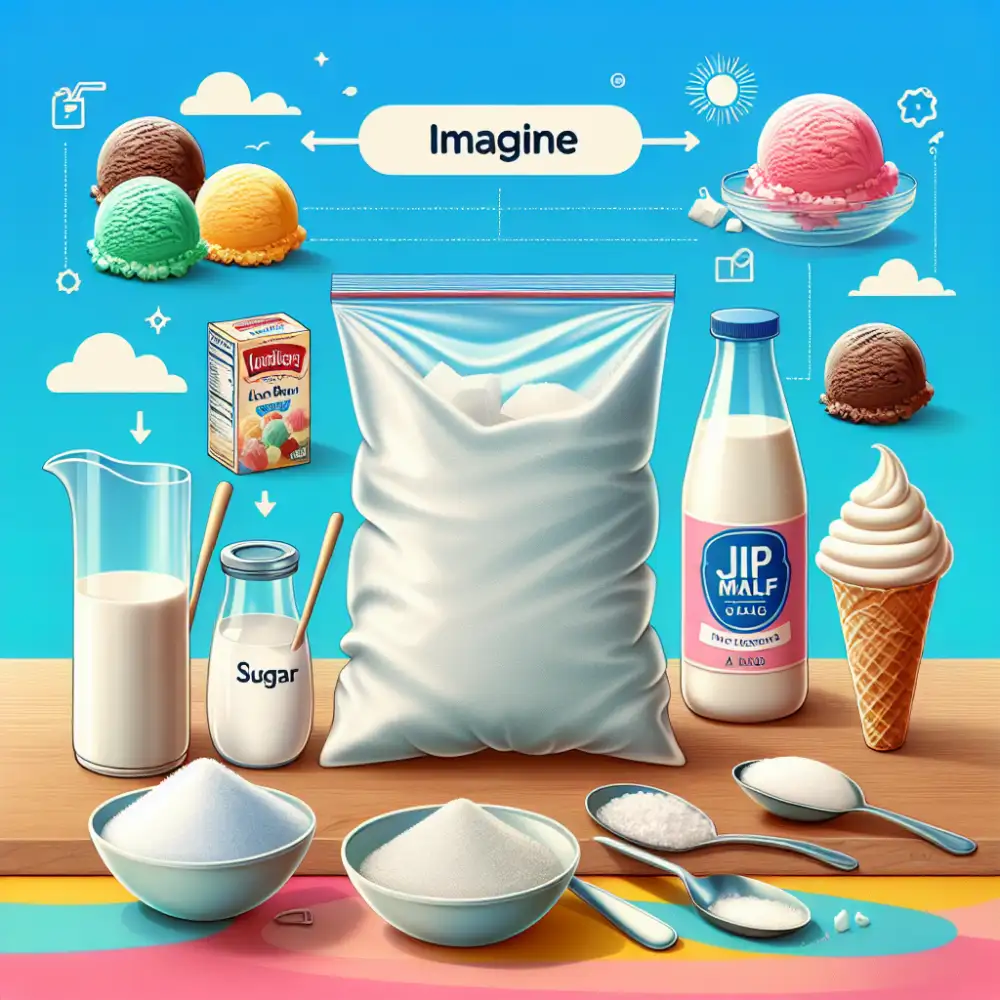
Before you embark on your ice cream-making adventure, make sure you have all the necessary ingredients. You will need 1 cup of heavy cream, 1 cup of whole milk, 1/2 cup of granulated sugar, 1 teaspoon of vanilla extract, and a pinch of salt. These basic ingredients will form the base of your delicious homemade ice cream. Additionally, you will need some ice cubes and coarse salt to create the freezing environment for your ice cream mixture. Make sure to have a quart-sized resealable plastic bag and a gallon-sized resealable plastic bag as well. With these ingredients in hand, you are ready to start creating your frozen masterpiece!
Prepare the ice cream mixture
To prepare the ice cream mixture, you will need a few simple ingredients. Start by gathering 1 cup of heavy cream, 1 cup of whole milk, 1/2 cup of granulated sugar, and 1 teaspoon of vanilla extract. In a mixing bowl, whisk together the heavy cream and whole milk until well combined. Gradually add in the granulated sugar while continuing to whisk until it dissolves completely. Finally, stir in the vanilla extract for added flavor. Make sure all the ingredients are thoroughly mixed together to create a smooth and creamy base for your ice cream.
Fill the bag with ice and salt
To create the perfect environment for freezing your ice cream, it's time to fill the bag with ice and salt. The combination of ice and salt creates a super cold mixture that will freeze your ice cream in no time.
Start by grabbing a large resealable plastic bag. Fill it halfway with crushed ice. Make sure to use crushed ice as it will distribute the cold temperature more evenly.
Next, grab a box of rock salt or kosher salt. Sprinkle about 1/4 cup of salt over the ice in the bag. The salt helps lower the freezing point of the ice, allowing it to get even colder than normal.
Seal the bag tightly, making sure there are no leaks or openings. Give it a gentle shake to mix the ice and salt together. This will help distribute the cold temperature throughout the bag.
Remember to handle the bag with care as it may become extremely cold due to the addition of salt. It's always a good idea to use oven mitts or a towel when shaking or handling the bag.

Now that your bag is filled with ice and salt, you're ready to move on to the next step - shaking! Get ready for some arm workout as you shake, shake, shake your way to delicious homemade ice cream!
| Feature | Ice Cream Maker | Bag Method |
|---|---|---|
| Time to Make | 20-30 minutes | 10-15 minutes |
| Cleanup Required | Moderate | Minimal |
| Cost | High (Machine Purchase) | Low (Basic Ingredients) |
| Quantity Made | Large Batch (1-2 Quarts) | Small Batch (1-2 Servings) |
Seal the bag tightly
Sealing the bag tightly is a crucial step in making homemade ice cream in a bag. Once you have added your ice cream mixture to the bag, make sure to squeeze out any excess air before sealing it shut. This will prevent any leakage or melting during the shaking process.
To seal the bag, carefully press out as much air as possible and then fold over the top of the bag a few times to create a tight seal. You can also use a rubber band or tape to secure it further if needed. It's important to ensure that no salt or ice can escape from the bag while shaking.
By sealing the bag tightly, you create a contained environment for the ice cream mixture and allow for efficient cooling. This will help achieve the desired consistency and texture of your homemade ice cream. So take a moment to double-check that your bag is properly sealed before moving on to the next step.
Remember, a well-sealed bag will not only prevent any mess but also ensure that your ice cream freezes evenly and doesn't get diluted by water from melting ice. So don't rush this step and make sure your bag is securely sealed before you start shaking!
Now that you have successfully sealed your bag, it's time to move on to the exciting part - shaking!
Shake, shake, shake!
6. Shake, shake, shake!
Now comes the fun part – shaking the bag vigorously! Make sure the bag is sealed tightly to prevent any leaks or spills. Hold onto the top of the bag with one hand and use your other hand to shake it up and down, side to side, and all around. The ice and salt mixture will start to melt, creating a super-cold environment that freezes the ice cream mixture.
Shaking is an essential step in making homemade ice cream in a bag. It helps distribute the cold temperature evenly throughout the mixture, ensuring that it freezes uniformly. Plus, it's a great way to get some exercise and involve everyone in the process.
You can pass the bag around and take turns shaking it or have a mini-shaking competition with your friends or family members. Just make sure to protect your hands by using a towel or oven mitts since the bag can get really cold during this step.
Continue shaking for about 5-10 minutes or until you notice that the mixture inside has thickened considerably. The more you shake, the smoother and creamier your ice cream will be.
Remember to have some upbeat music playing or engage in lively conversation while shaking away – it makes the time fly by! And don't worry if your arms start feeling tired; think of it as an arm workout with a delicious reward at the end.
Once you're satisfied with the consistency of your ice cream mixture, move on to the next step: checking its readiness for devouring!
Check the consistency
7. Check the consistency
After shaking the bag vigorously for about 5-10 minutes, it's time to check the consistency of your homemade ice cream. Carefully remove the bag from the larger bag filled with ice and salt. Wipe off any excess moisture from the outside of the bag before opening it.
Take a spoon and scoop out a small amount of the ice cream mixture. Does it have a creamy texture? If so, congratulations! You've successfully made homemade ice cream in a bag.
If the consistency is not quite right, don't worry. Place the bag back into the larger bag filled with ice and salt and continue shaking for another few minutes. The longer you shake, the firmer your ice cream will become.
Remember that homemade ice cream may not have exactly the same texture as store-bought varieties. It may be slightly softer or melt faster due to its lack of stabilizers and preservatives. But that's part of its charm!
Once you're satisfied with the consistency, carefully remove the smaller bag from the larger one and wipe off any excess moisture again. Open up your homemade ice cream bag and transfer it to a bowl or cone.
Now, take a moment to admire your creation before diving in with a spoon or licking it straight off your fingers. Enjoy every delicious bite of your freshly made ice cream!
Note: If you prefer a harder consistency, you can place your homemade ice cream in an airtight container and freeze it for an additional hour or two before serving.
Enjoy your homemade ice cream
7. Check the consistency
After shaking the bag vigorously for about 5-10 minutes, it's time to check the consistency of your homemade ice cream. Carefully remove the smaller bag from the larger bag and wipe off any excess salt or ice. Open the smaller bag and take a small spoonful of the mixture.
The texture should be smooth and creamy, just like store-bought ice cream. If it's still too liquidy, place the smaller bag back into the larger one and continue shaking for a few more minutes. If it's too firm, you can let it sit at room temperature for a few minutes to soften slightly.

8. Enjoy your homemade ice cream
Once you've achieved the perfect consistency, it's time to indulge in your homemade ice cream! Open up the smaller bag and grab a spoon. Take a moment to savor that first bite of creamy goodness.
You can enjoy your homemade ice cream as is or get creative with toppings and mix-ins. Add some crushed cookies, fresh fruit, or chocolate sauce for an extra burst of flavor. Serve it in a cone or bowl and share this delightful treat with friends and family.
Not only will you enjoy the satisfaction of making your own ice cream from scratch, but you'll also appreciate how customizable it is. Experiment with different flavors by adding extracts like vanilla or mint, or even try using different types of milk such as almond or coconut milk for a dairy-free option.
Homemade ice cream is not only delicious but also a fun activity that brings people together. So gather your loved ones, whip up some refreshing flavors, and create lasting memories while enjoying your very own homemade frozen delight!
9. Tips and variations
- For added sweetness, you can mix in some sugar or sweetened condensed milk into the mixture before sealing the bags.
- Get creative with flavors by adding cocoa powder for chocolate ice cream or fruit puree for fruity options.
- If you don't have rock salt, regular table salt can also be used, although it may not be as effective in lowering the temperature.
- To make a larger batch of ice cream, simply double or triple the recipe and use bigger bags.
- Experiment with different toppings like sprinkles, nuts, or caramel sauce to enhance the flavor and presentation.
10. Conclusion
Making ice cream in a bag is a simple and enjoyable way to satisfy your sweet tooth. With just a few ingredients and some shaking action, you can create your own creamy frozen treat at home. It's a great activity for kids and adults alike, providing an opportunity to explore flavors and get creative with toppings.
So why not give it a try? Gather your ingredients, follow the steps outlined above, and enjoy the fruits of your labor. Whether you're cooling off on a hot summer day or simply craving something sweet, homemade ice cream in a bag is sure to delight your taste buds.
Tips and variations
Tips and Variations:
1. Experiment with flavors: Once you've mastered the basic recipe, feel free to get creative with your ice cream flavors. Add a teaspoon of vanilla extract for a classic taste, or mix in some crushed cookies, chocolate chips, or fresh fruit for added texture and flavor.

2. Use different types of milk: While whole milk works best for a creamy consistency, you can also use low-fat or even almond milk as a healthier alternative. Just keep in mind that the texture may vary slightly.
3. Play around with sweeteners: If you prefer a less sweet ice cream, reduce the amount of sugar in the recipe. You can also substitute honey or maple syrup for a natural sweetness.
4. Add mix-ins after shaking: If you want to include chunks of chocolate, nuts, or other mix-ins in your ice cream, it's best to add them after shaking the mixture. Simply fold them in gently before transferring the ice cream to a container for freezing.
5. Get creative with toppings: Once your homemade ice cream is ready to enjoy, don't forget about the toppings! Drizzle some caramel sauce, sprinkle crushed nuts or colorful sprinkles on top to enhance the overall presentation and taste.
Remember, making ice cream in a bag is all about having fun and experimenting with flavors. Don't be afraid to try new combinations and let your imagination run wild!
Making homemade ice cream in a bag is not only a fun and interactive activity, but it also allows you to enjoy a delicious frozen treat in no time. With just a few simple ingredients and some shaking, you can create your own creamy and flavorful ice cream right at home. Whether you prefer classic vanilla or want to experiment with different flavors and mix-ins, this easy recipe is sure to satisfy your sweet tooth. So gather your ingredients, grab a bag, and get ready to whisk up some homemade delights!
Published: 11. 02. 2024
Category: Recipes