Crunchy and Homemade: Master the Art of Making Breadcrumbs with Ease

- Step-by-step guide on making breadcrumbs at home
- Selecting the right bread for making breadcrumbs
- Preparing the bread for drying
- Drying the bread
- Grinding the dried bread into breadcrumbs
- Tips for enhancing the flavor and texture of homemade breadcrumbs
- Adding herbs and spices to the breadcrumbs
- Toasting the breadcrumbs for added crunch
- Storing and using homemade breadcrumbs
- Proper storage techniques to maintain freshness
- Creative ways to incorporate breadcrumbs into recipes
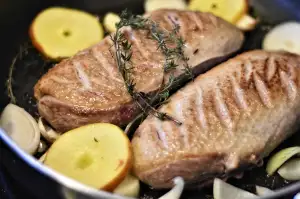
Breadcrumbs, those tiny morsels of toasted goodness, are a staple in the culinary world. They add texture, flavor, and visual appeal to a wide range of dishes. Whether you're coating chicken cutlets for a crispy finish or sprinkling them over a creamy casserole for that perfect golden crust, breadcrumbs have the power to elevate any recipe.
These versatile crumbs are made by drying out bread and grinding it into fine particles. While store-bought options are readily available, making your own breadcrumbs at home allows you to control the quality and customize the flavors to suit your taste buds. In this article, we will guide you through the process of mastering the art of making homemade breadcrumbs with ease. So let's roll up our sleeves and embark on this crunchy adventure!
Step-by-step guide on making breadcrumbs at home
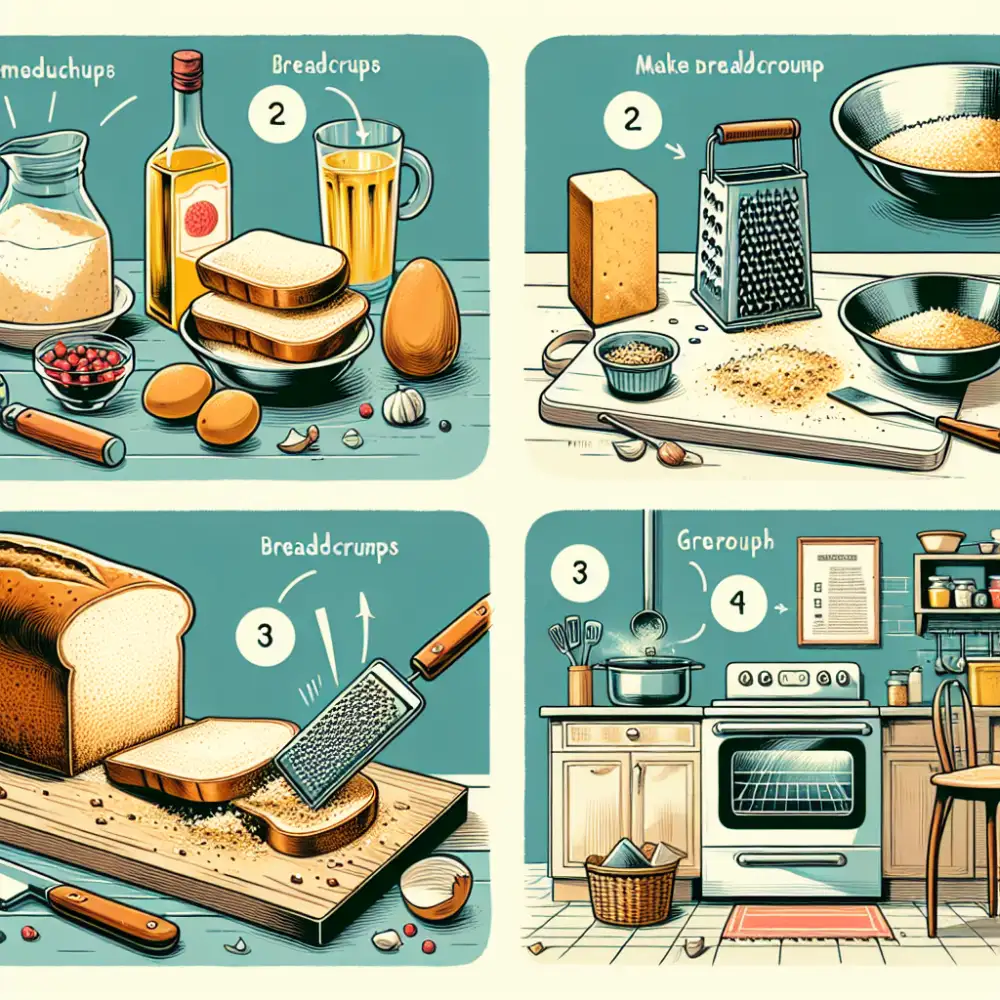
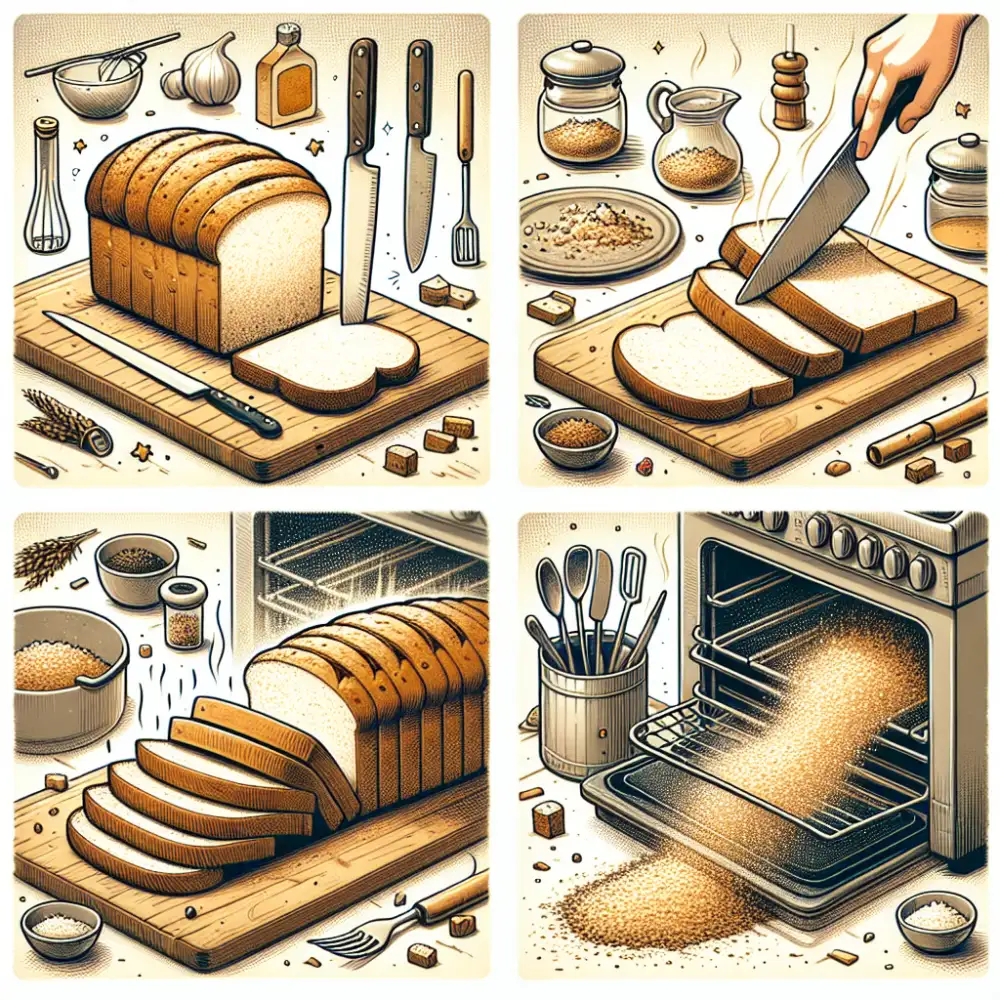
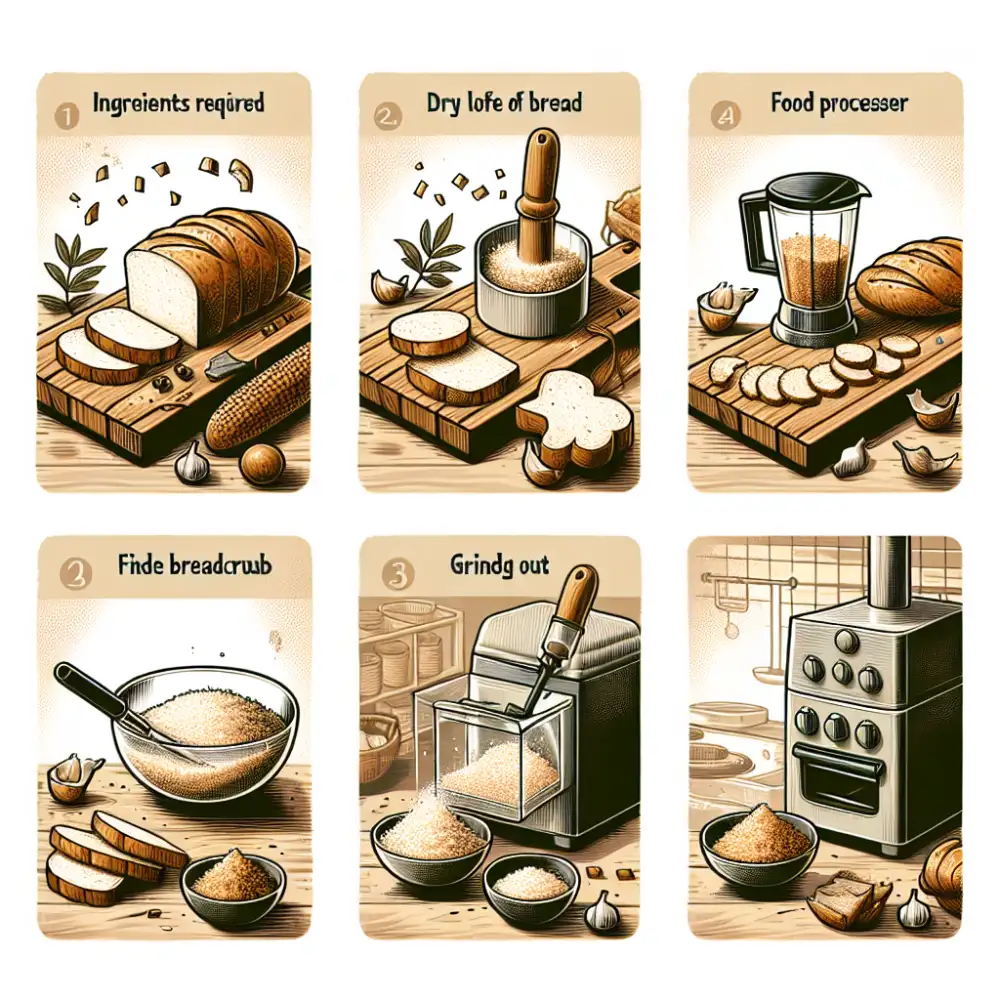
a. Selecting the right bread for making breadcrumbs: Choose a loaf of bread that is slightly stale or past its prime. White, whole wheat, or multigrain bread all work well for making breadcrumbs.
b. Preparing the bread for drying: Cut the bread into slices or cubes, removing any crusts if desired. This will help the bread dry evenly and ensure a consistent texture in the final breadcrumbs.
c. Drying the bread: Place the sliced or cubed bread on a baking sheet and leave it out at room temperature for 1-2 days to allow it to dry completely. Alternatively, you can speed up the process by drying it in a low oven (around 250°F/120°C) for about 30 minutes.
d. Grinding the dried bread into breadcrumbs: Once the bread is fully dried, transfer it to a food processor or blender. Pulse until you achieve your desired breadcrumb consistency - coarse or fine.
By following these simple steps, you can easily make homemade breadcrumbs that are perfect for adding texture and flavor to your favorite dishes.
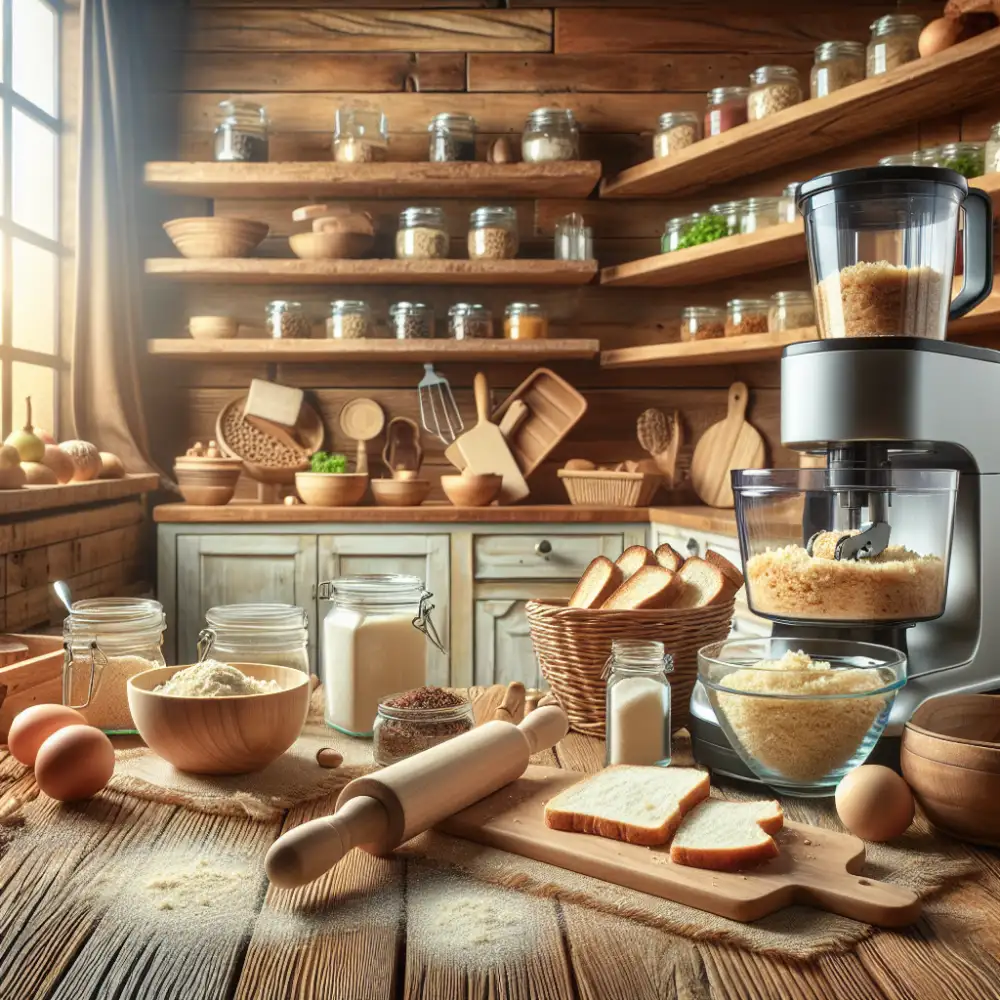
Selecting the right bread for making breadcrumbs
Selecting the right bread for making breadcrumbs is crucial to achieving the desired texture and flavor. Opt for stale or day-old bread, as fresh bread tends to be too soft and moist. Sourdough, French baguette, or whole wheat bread work well due to their firm texture. Avoid using sweet or enriched breads as they can alter the taste of the breadcrumbs. Experiment with different types of bread to find your preferred flavor profile.
Preparing the bread for drying
Preparing the bread for drying is an important step in making homemade breadcrumbs. Start by selecting a loaf of bread that is slightly stale or past its prime. This could be white bread, whole wheat bread, or any other type of bread you prefer. Slice the bread into thin slices or cubes, depending on your preference. If the crust is too hard, you can remove it before slicing.
Next, arrange the bread slices or cubes in a single layer on a baking sheet or wire rack. This will allow for even drying and prevent them from sticking together. It's important to ensure that there is enough space between each piece of bread for air circulation.
Before drying, you have the option to lightly toast the bread in a preheated oven at a low temperature (around 200°F/93°C) for about 10 minutes. This step helps to remove any excess moisture from the bread and enhances the final texture of the breadcrumbs.
Once toasted or if you choose to skip this step, leave the sliced or cubed bread uncovered at room temperature for a day or two until it becomes completely dry and crisp. The drying time may vary depending on the thickness and moisture content of the bread.
It's essential to make sure that there is no moisture left in the bread before grinding it into breadcrumbs. Any residual moisture can lead to clumping and spoilage during storage.
By following these simple steps to prepare your bread for drying, you are well on your way to creating flavorful homemade breadcrumbs that will elevate your culinary creations to new heights!
| Feature | Homemade Breadcrumbs | Store-Bought Breadcrumbs |
|---|---|---|
| Cost | Very inexpensive (uses leftover bread) | Moderate |
| Flavor | Highly customizable (depends on bread used) | Standard, often bland |
| Texture | Variable (can be coarse or fine) | Typically uniform and fine |
| Ingredients | Usually just bread (can add herbs/spices) | May contain preservatives and additives |
Grinding the dried bread into breadcrumbs is the final step in creating homemade breadcrumbs. Once the bread has been thoroughly dried, it is ready to be transformed into fine crumbs. To do this, you can use a food processor or a blender. Simply break the dried bread into smaller pieces and place them in the appliance. Pulse or blend until the bread reaches your desired consistency, whether that's coarse or fine breadcrumbs. Make sure to scrape down the sides of the appliance as needed to ensure even grinding. Once ground, transfer the breadcrumbs to an airtight container for storage or immediate use in your favorite recipes.
Tips for enhancing the flavor and texture of homemade breadcrumbs
To enhance the flavor and texture of homemade breadcrumbs, there are a few simple tips you can follow. Firstly, consider adding herbs and spices to the breadcrumbs. This will not only add a burst of flavor but also make your dishes more aromatic. Popular choices include dried parsley, oregano, thyme, garlic powder, and onion powder. Experiment with different combinations to find your favorite blend.
Another way to elevate the taste and texture is by toasting the breadcrumbs. Toasting adds a delightful crunch and enhances their nutty flavor. Simply heat a dry skillet over medium heat, add the breadcrumbs, and stir frequently until they turn golden brown. Be careful not to burn them as it can give an unpleasant bitter taste.
By incorporating these tips into your homemade breadcrumbs, you'll be able to take your culinary creations to new heights. The added flavors and textures will bring depth and complexity to your dishes, making them even more delicious and satisfying. So don't be afraid to get creative with your breadcrumb recipes!
Adding herbs and spices to the breadcrumbs
Adding herbs and spices to homemade breadcrumbs is a great way to elevate their flavor and make them more versatile in various recipes. You can experiment with different combinations of herbs and spices to create unique and delicious breadcrumb blends. Some popular options include dried oregano, thyme, basil, garlic powder, onion powder, paprika, and Parmesan cheese. These additions not only add depth of flavor but also enhance the overall taste of your dishes. Be sure to mix the herbs and spices thoroughly with the breadcrumbs for an even distribution of flavors.
Toasting the breadcrumbs for added crunch
Toasting the breadcrumbs is a simple yet effective technique to enhance their crunchiness and flavor. Start by preheating your oven to 350°F (175°C). Spread the breadcrumbs evenly on a baking sheet lined with parchment paper. Toast them in the oven for about 10-15 minutes, or until they turn golden brown and become fragrant. Keep a close eye on them to prevent burning. The toasting process not only adds an irresistible crunch but also intensifies the nutty aroma of the breadcrumbs, making them even more delicious in your culinary creations.
Storing and using homemade breadcrumbs
To ensure the longevity of your homemade breadcrumbs, it's essential to store them correctly. Place the breadcrumbs in an airtight container or resealable bag, removing as much air as possible before sealing. Store them in a cool, dry place such as a pantry or cupboard away from direct sunlight or moisture. When stored properly, homemade breadcrumbs can last for up to 6 months.
Homemade breadcrumbs can add a delightful crunch and flavor to various dishes. Use them as a coating for chicken or fish before frying or baking to achieve a crispy texture. Sprinkle them on top of casseroles or gratins for added texture and depth. They also make an excellent topping for macaroni and cheese, soups, and salads. Get creative by mixing herbs, spices, or grated cheese into the breadcrumbs for even more flavor enhancement.
Proper storage techniques to maintain freshness
Proper storage techniques are essential to maintain the freshness of homemade breadcrumbs. To ensure their longevity, it is important to store them in an airtight container or resealable bag. This will prevent moisture from entering and keep the breadcrumbs dry and crispy. Additionally, storing them in a cool, dark place like a pantry or cupboard will help preserve their flavor and texture. It is recommended to use the breadcrumbs within 3-6 months for optimal freshness. By following these storage guidelines, you can enjoy the delightful crunch of homemade breadcrumbs in your culinary creations for an extended period of time.
Creative ways to incorporate breadcrumbs into recipes
Creative Ways to Incorporate Breadcrumbs into Recipes:
- Crispy Coatings: Use breadcrumbs as a coating for chicken, fish, or vegetables before frying or baking. The breadcrumbs add a delightful crunch and help seal in moisture.
- Tasty Toppings: Sprinkle breadcrumbs on top of casseroles, gratins, or macaroni and cheese for an extra layer of flavor and texture. The golden brown crust adds visual appeal too.
- Meatballs and Meatloaf: Mix breadcrumbs into ground meat when making meatballs or meatloaf. They act as a binder, keeping the mixture together while adding a lightness to the final dish.
- Stuffings and Fillings: Breadcrumbs are an essential ingredient in stuffings for poultry or vegetables like mushrooms. They absorb flavors and provide a satisfying texture.
- Veggie Burgers: Combine cooked vegetables with breadcrumbs to form veggie burger patties. The breadcrumbs help bind the ingredients together, resulting in a firm yet tender burger.
- Crunchy Toppings for Pasta: Toasted breadcrumbs can be sprinkled over pasta dishes instead of grated cheese for added crunchiness and depth of flavor.
- Breadcrumb Crusts: Press seasoned breadcrumbs onto seafood like shrimp or scallops before pan-frying them to create a delicious crispy crust.
- Sweet Treats: Don't limit yourself to savory dishes! Use sweetened breadcrumbs as toppings for fruit crumbles or as fillings in desserts like bread pudding or French toast.
By exploring these creative ways to incorporate homemade breadcrumbs into your recipes, you'll elevate your dishes with added flavor, texture, and visual appeal!
In conclusion, mastering the art of making homemade breadcrumbs opens up a world of possibilities in your culinary creations. The versatility of these crunchy morsels is truly remarkable. From adding a crispy coating to fried foods, to using them as a binder in meatballs and meatloaf, breadcrumbs can elevate any dish.
Not only are homemade breadcrumbs economical and easy to make, but they also allow you to customize the flavor and texture according to your preferences. By adding herbs, spices, or even cheese to the mix, you can create a unique blend that enhances the taste of your dishes.
Furthermore, toasting the breadcrumbs before using them adds an extra layer of crunchiness and depth of flavor. This simple step takes your recipes to another level.
When it comes to storing homemade breadcrumbs, it's important to keep them in an airtight container in a cool and dry place. This will ensure their freshness and prevent them from becoming stale or losing their crunchiness.
So why settle for store-bought breadcrumbs when you can easily make your own? With just a few simple steps, you can have deliciously crunchy homemade breadcrumbs that will take your recipes from ordinary to extraordinary. So go ahead and give it a try – you won't be disappointed!
Published: 13. 02. 2024
Category: Recipes